
Like everything else, I wanted to do this in the most difficult way possible - by building stocky yet square custom newel posts, instead of just the standard Home Depot post and rail system. I found a few online, but none more helpful than Remodelaholic's version. I'd sent this to a woodworker friend of ours, who also cut our countertops, and his quote was way more than we could spend, so I decided to give it a shot, and if I failed, we'd rustle up some dough to get him on board.
So Sunday morning I got up early, headed out to the garage and started planning. The first thing I had to do was pull the top railing off, which is scary considering I had to make sure to complete it in one day, or figure a way to block it off so we couldn't even get close to falling off. I'm a bit of a worrier when it comes to stuff like that.

Because the old newel post was plugged directly into the subfloor, we'd left the last row and stair nose of the landing off until this project, so my next step was to rip a row of boards to size, nail them in and then add the stair nose. It had been a while since I'd done flooring, but it was like riding a bike. Especially since there really weren't any difficult cuts. Since the length is greater than my longest stair nose piece, I did have to combine two pieces. To minimize the appearance, I cut both pieces on a 45 degree angle.

It's not a perfect fit, but it's also meant to look good from the top, not the side, since it really won't be seen from this angle hardly ever.
Next came about an hour of measuring and remeasuring, making sure that my center point for the first post worked both for the railing along the second floor and the railing that would go down the first set of stairs. I also had to determine the spacing of what the stair balusters would be so that I matched it up on the second floor. I determined that 3" between balusters would be about right, since none of the stairs are exactly the same measurement, 3" would be about average.

Knowing that, and knowing that the post would be about 8" all said and done, I was able to draw the box, determine the center point, and make my hole for the dowel screw.
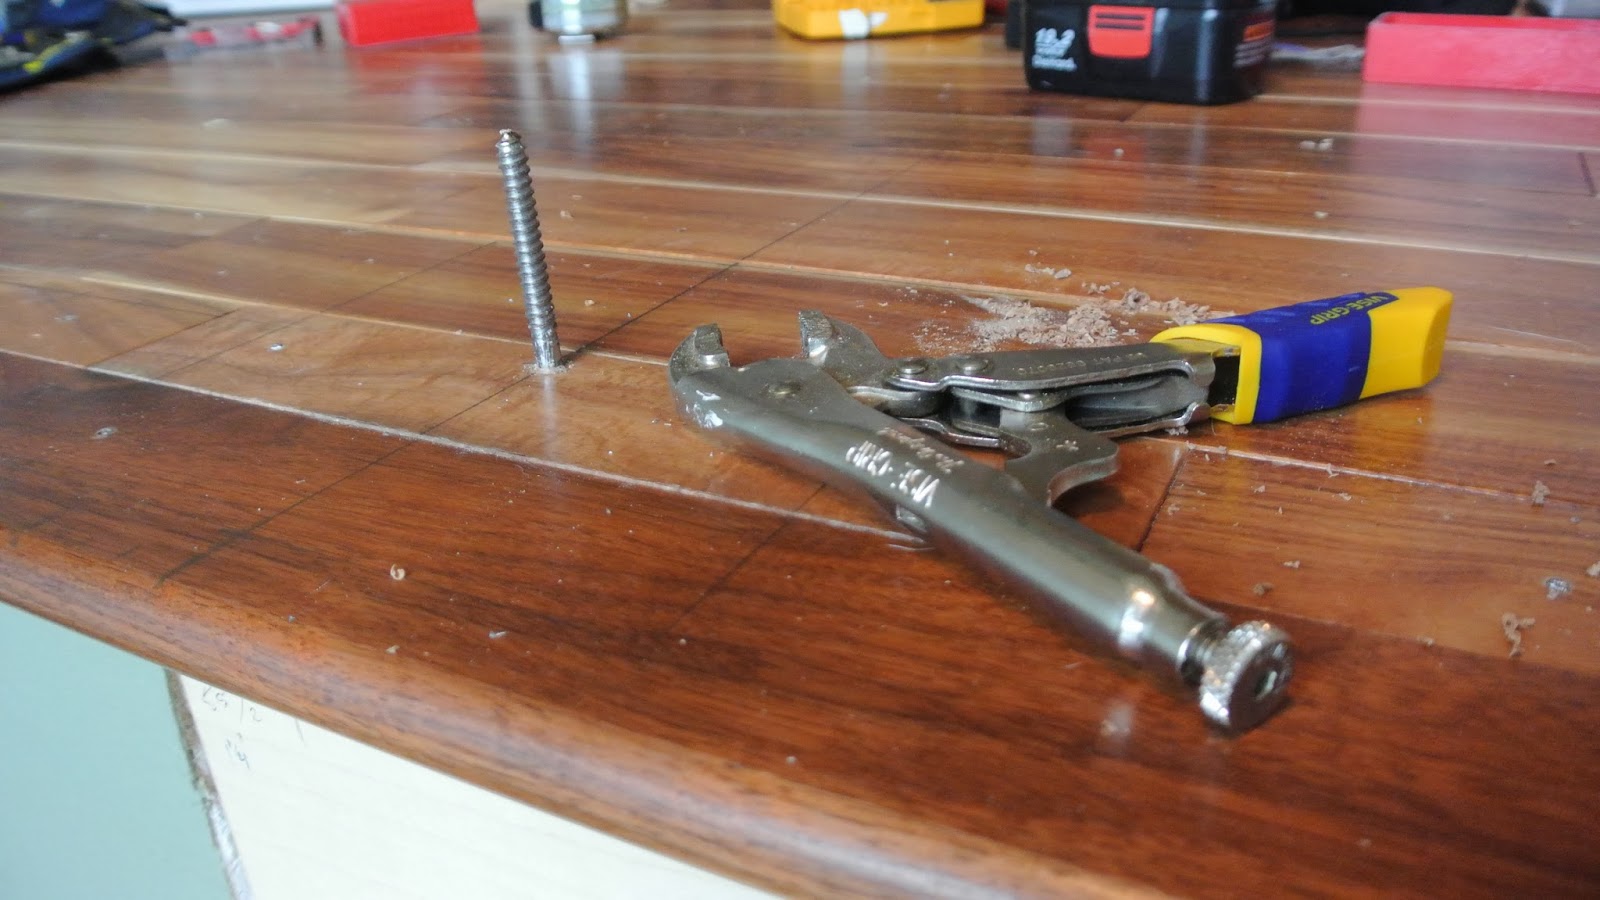
I reused the dowel screw from one of the other posts I pulled out long ago, but had to order more. I now have these, and dowel screws for the balusters, from McFeely's. A box of 50 from Lowes was about $67 I believe, and it would have taken almost a week for shipping. A box of 100 from McFeely's was $15 and I had it next day. Glad I did some research. They also were extremely helpful on the phone when I couldn't find exactly what I needed.
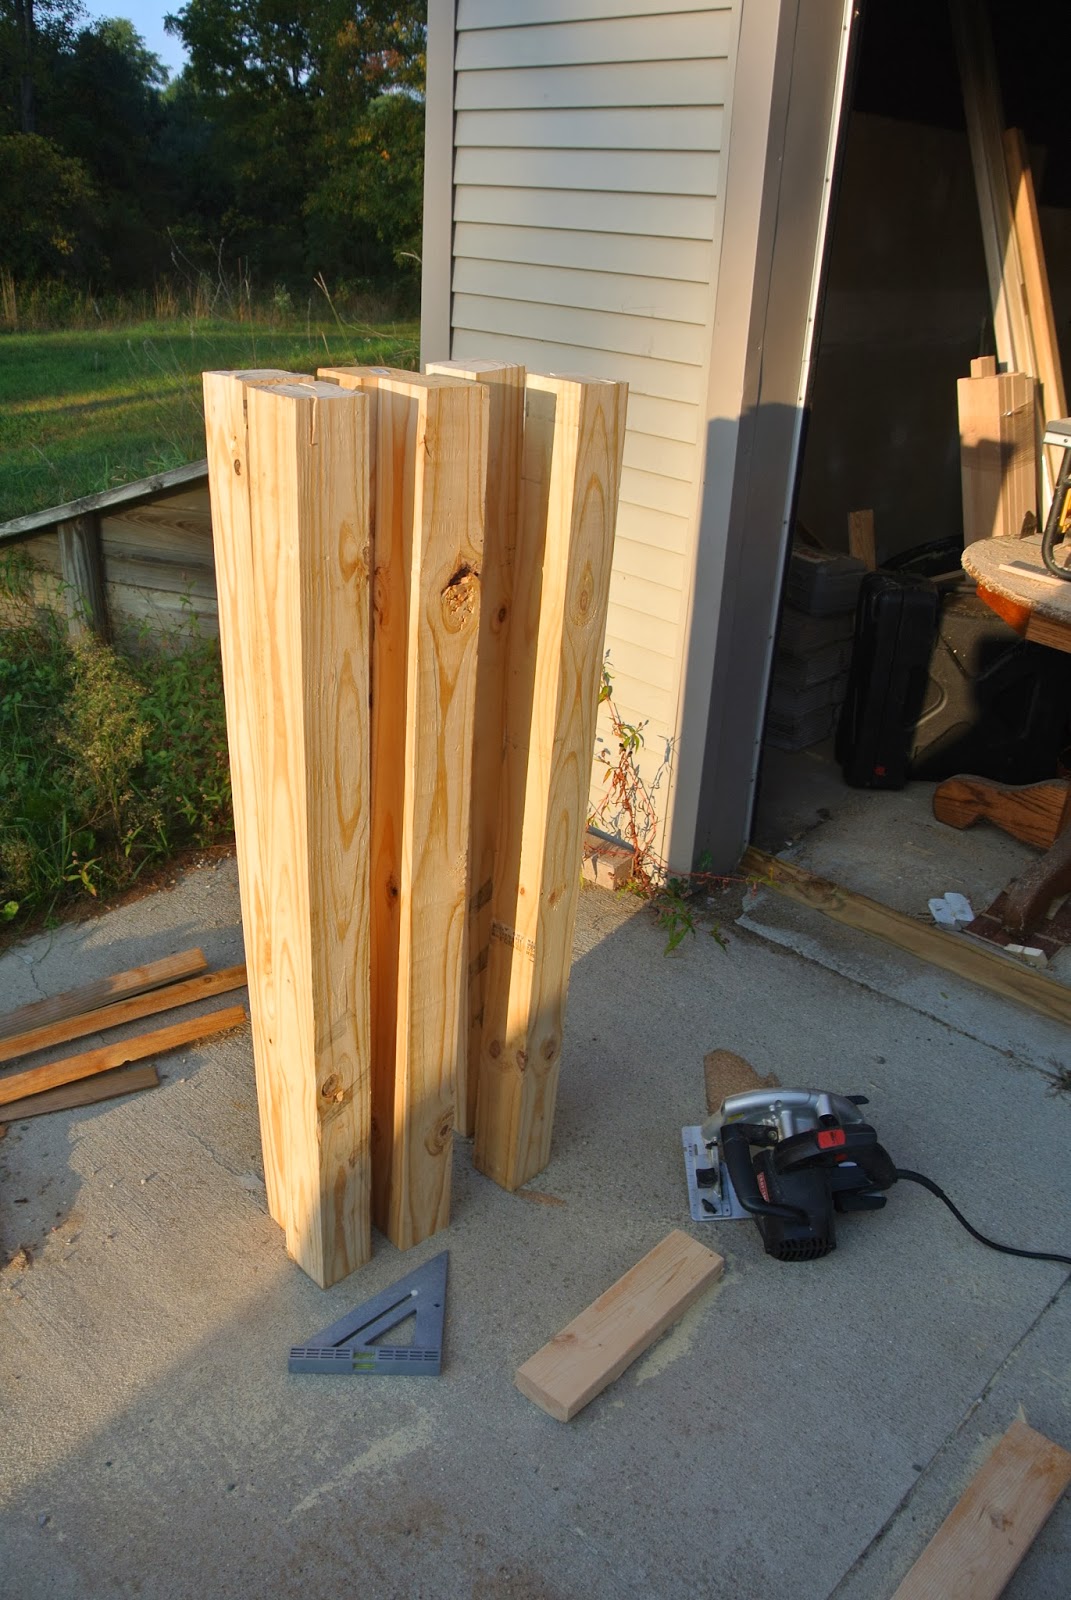
Anyway, installing these dowels is pretty easy, using a pair of locking pliers, but because our wood floors are such hard wood, it proved somewhat difficult to get them in. Next, I grabbed one of the 4x4's I'd cut down to 48" earlier in the week.
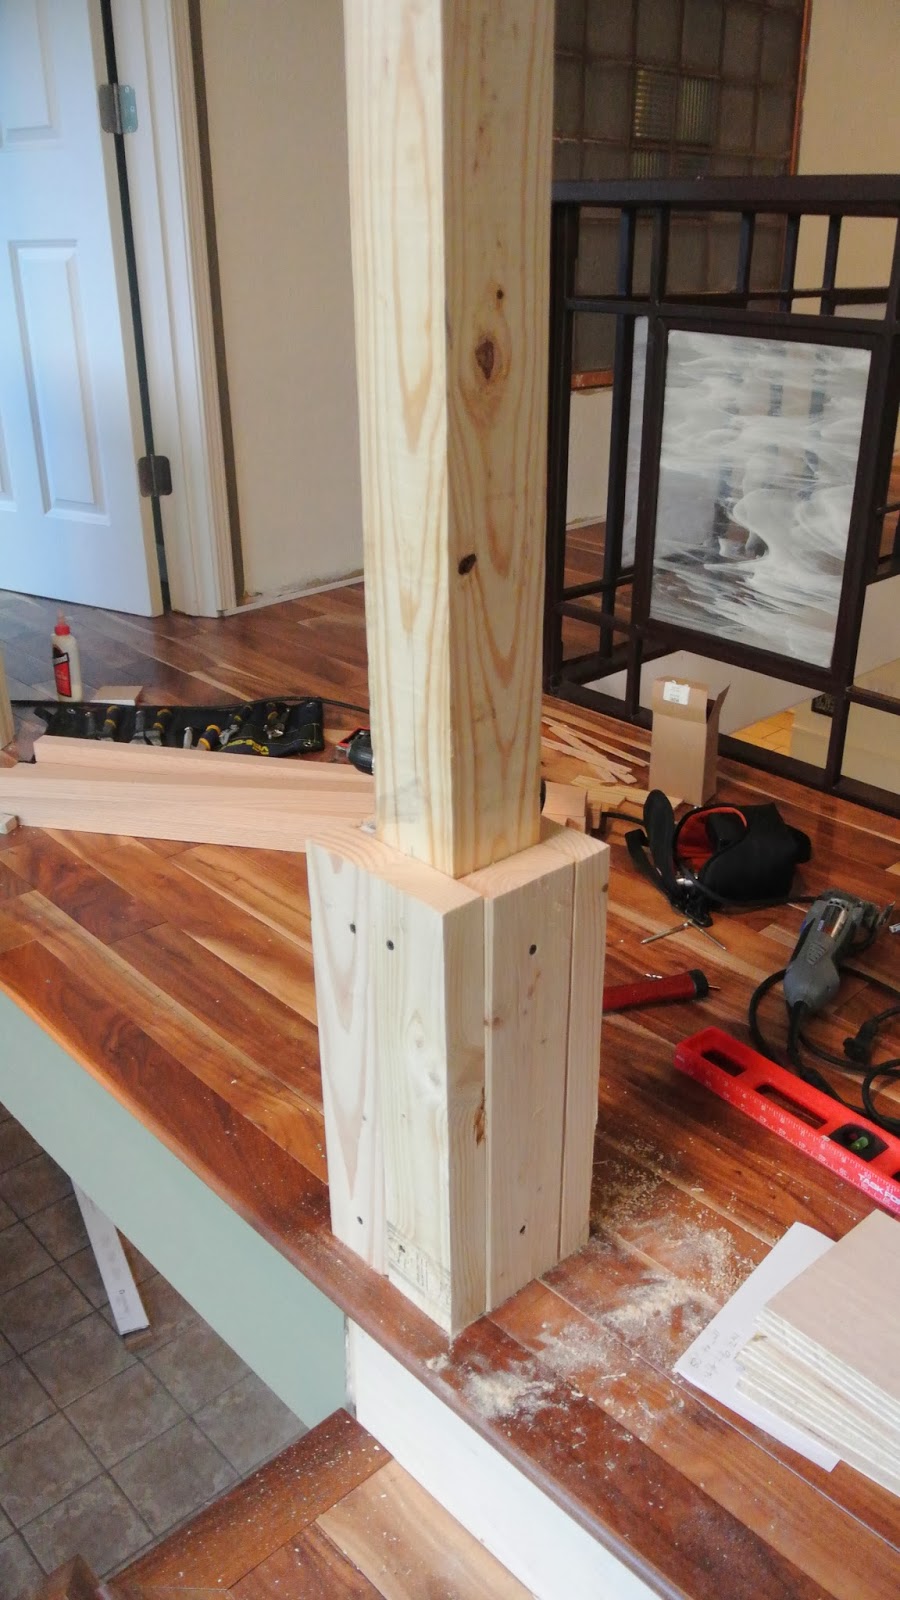
I found the center of one of the posts, drilled a hole, and twisted it on to the screw. It wasn't exactly level once in place, so I shimmed up the one side to get it as straight as possible. I then used my Kreg jig to make a pocket hole on both sides to add just a little extra anchor. I think for the rest I'll do this step before I install them so I can get the screw a little further up on the post.

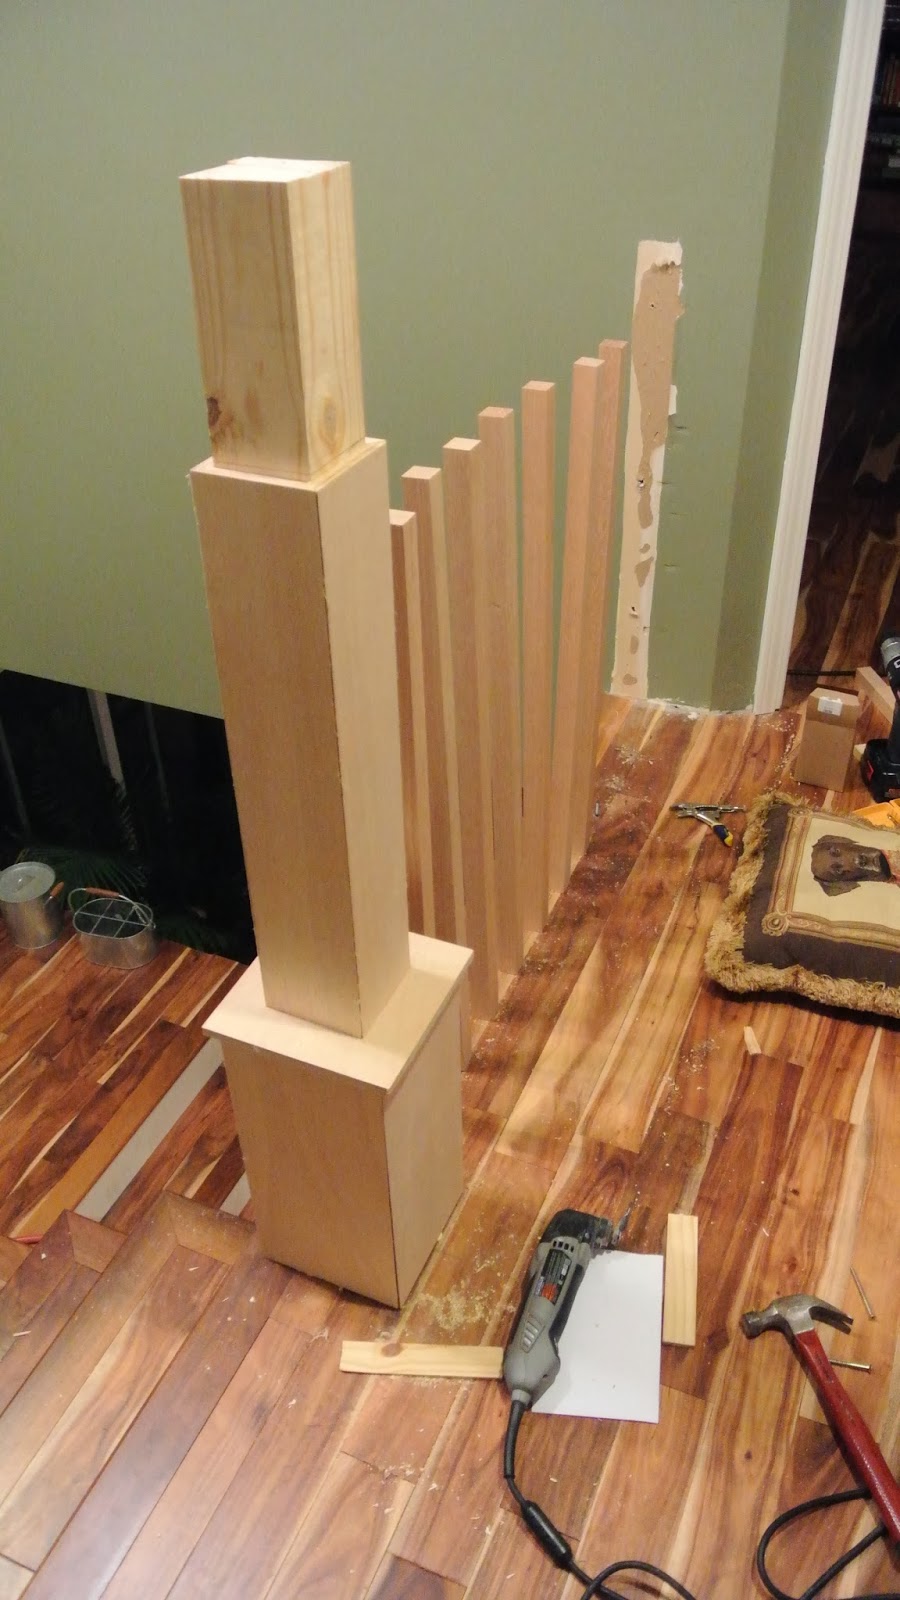
Once it was in place, I realized it was way too tall, so I went back to the Remodelaholic tutorial and realized their handrails must be much taller then mine, and they were installing on the first floor going up. I started to make some calculations and decided to go with a 40" height instead of 48". The handrail would be 36" off the ground, so another foot of post wouldn't be necessary. I marked the 40" on the post (but didn't cut in case I was wrong) and moved on to the next step, making sure to cut the rest of the pieces a little shorter to compensate.
I cut my 2x4 pieces down to 16" each, and trimmed them up so they made a solid square and secured them with coarse thread drywall screws.
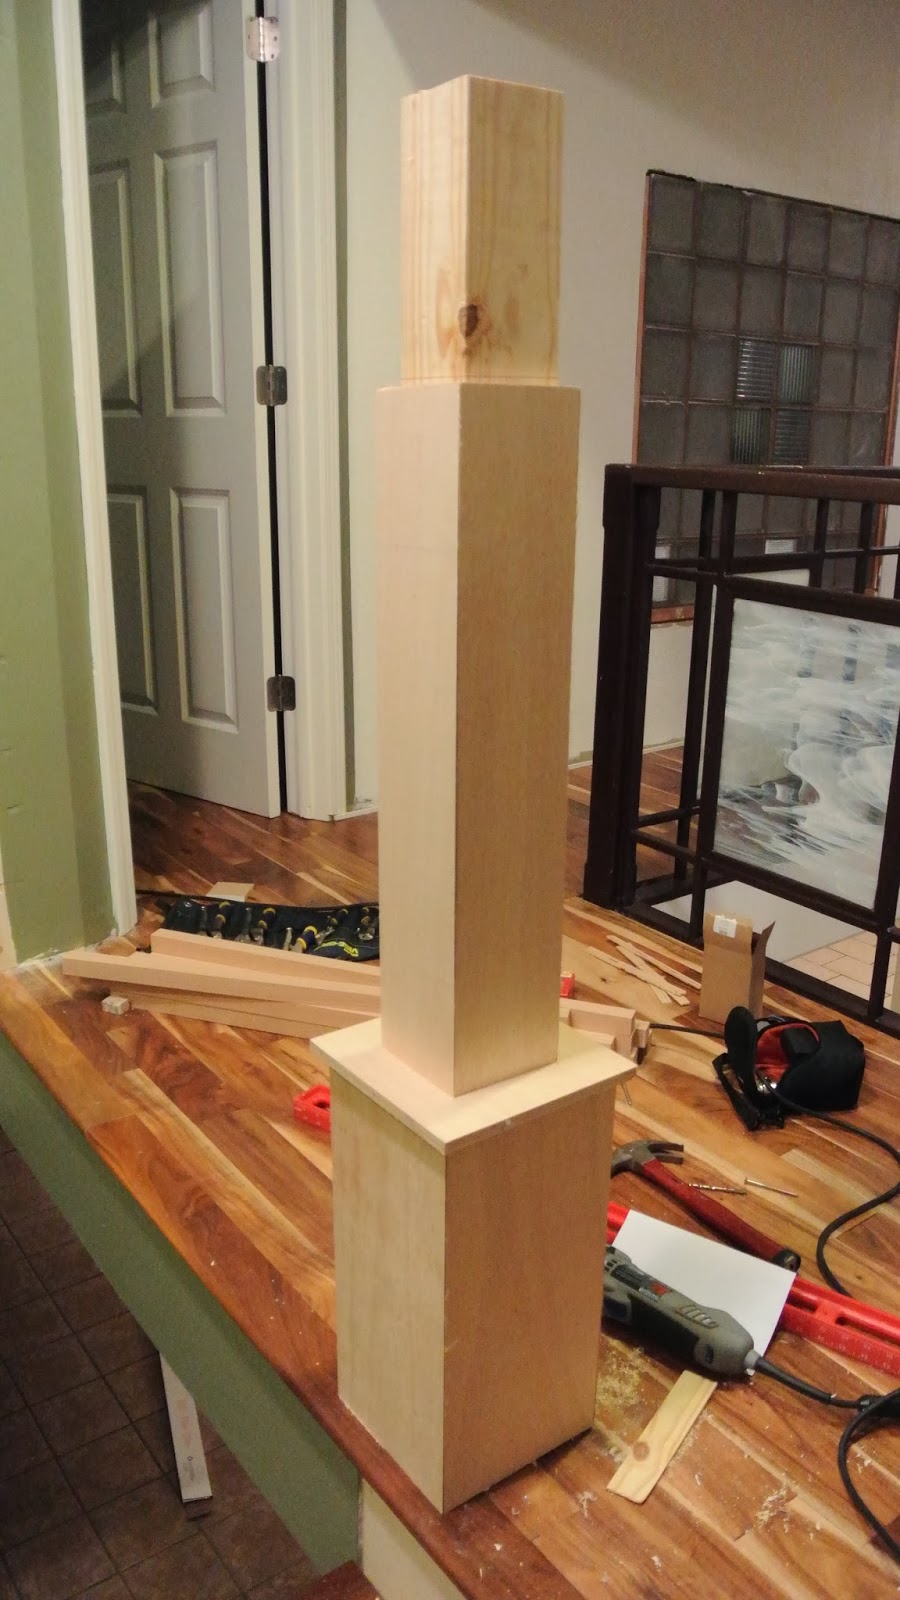
Next was to create the mitered corner panels to cover up the 2x4s. I set the table saw to a 45 degree miter and ran my boards through, using a 1/2" plywood. I then secured the panels with wood glue and brad nails.

Again, my mitered corners are never perfect, but that's what wood filler is for! To cap this off, I took another piece of 1/2" plywood and cut a square with a 4x4 hole in it using the jigsaw.

I slid the cap on, and got to making the top panels, again shorter than what's described in Remodelaholic's tutorial.
I was on a roll. Things were going great. Then I tried to drill holes in the center of a 1-1/4" baluster. Finding the center of that is impossible. After a few failed attempts, I decided to build a jig to make it easier. I drilled a hole, measured around it to create a 1-1/4" square, and then screwed in scrap wood around it so that the baluster would fit in perfectly.
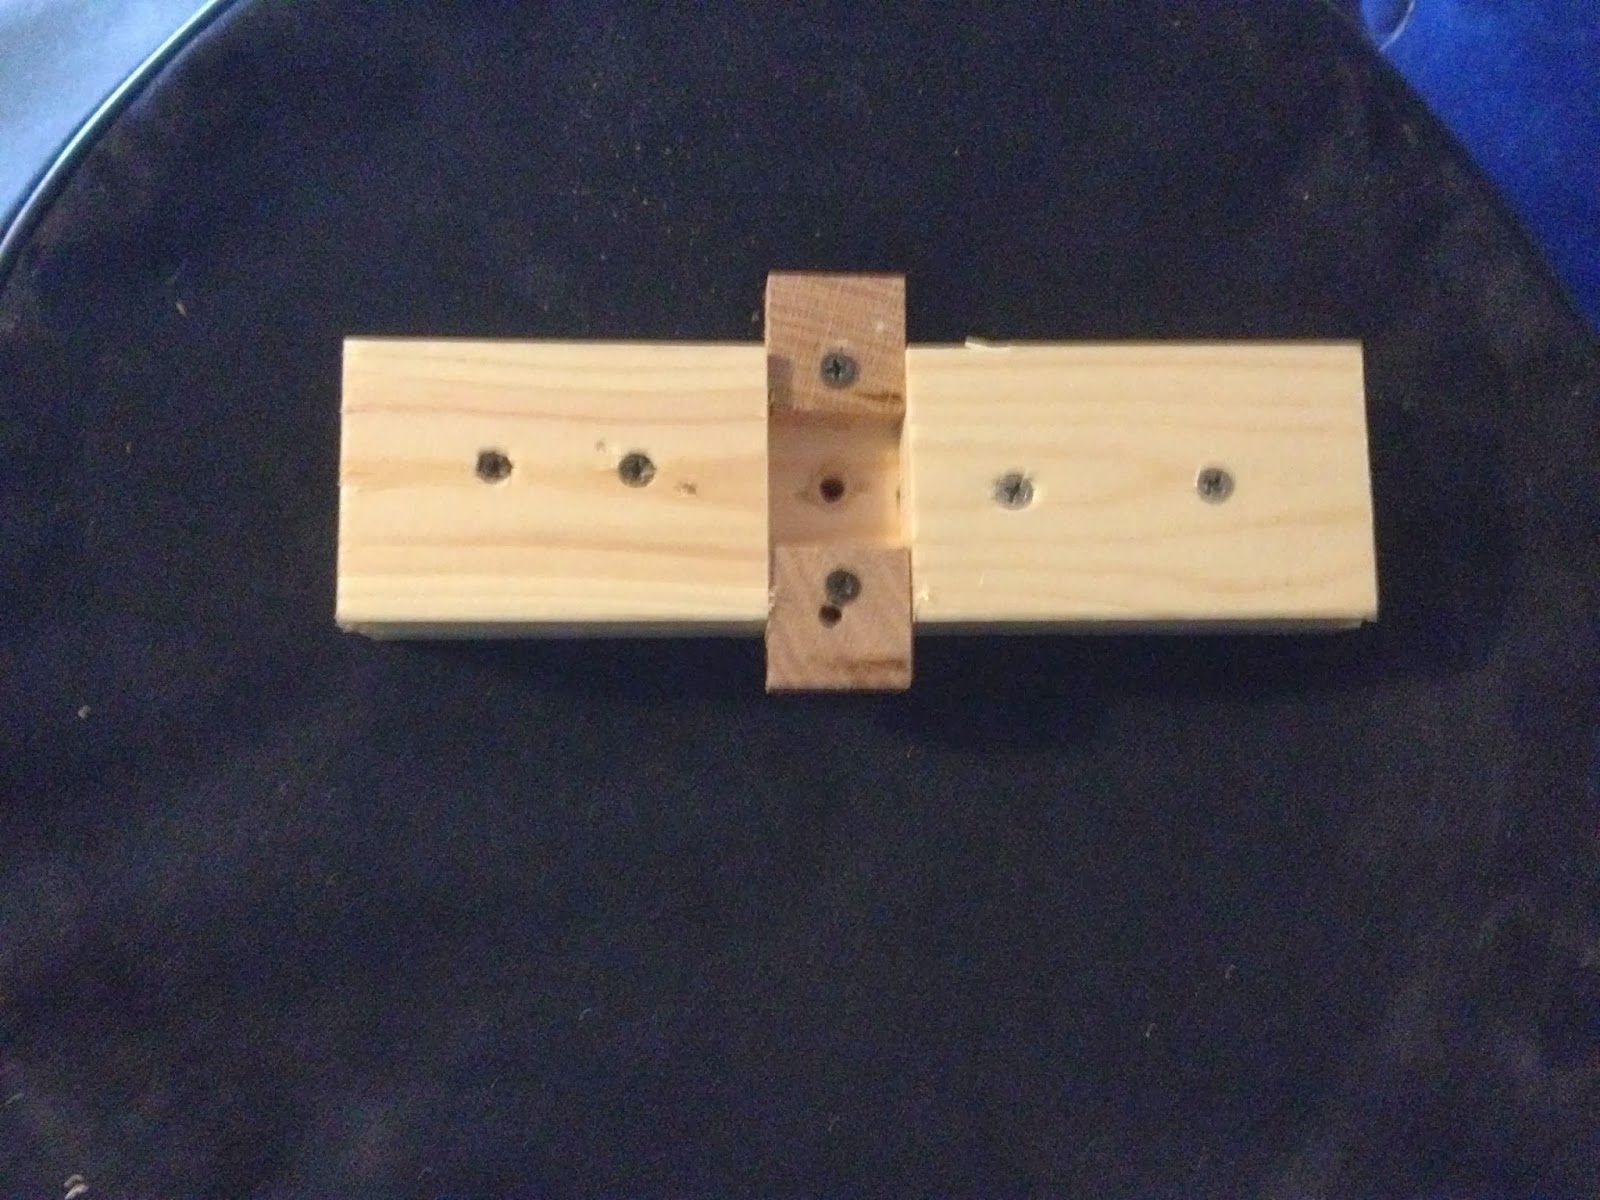
Let it be known that this is the reason to buy stuff from Home Depot - things that are already drilled or have a dowel milled out of the bottom so there's no guesswork or rigging. But that's no fun.
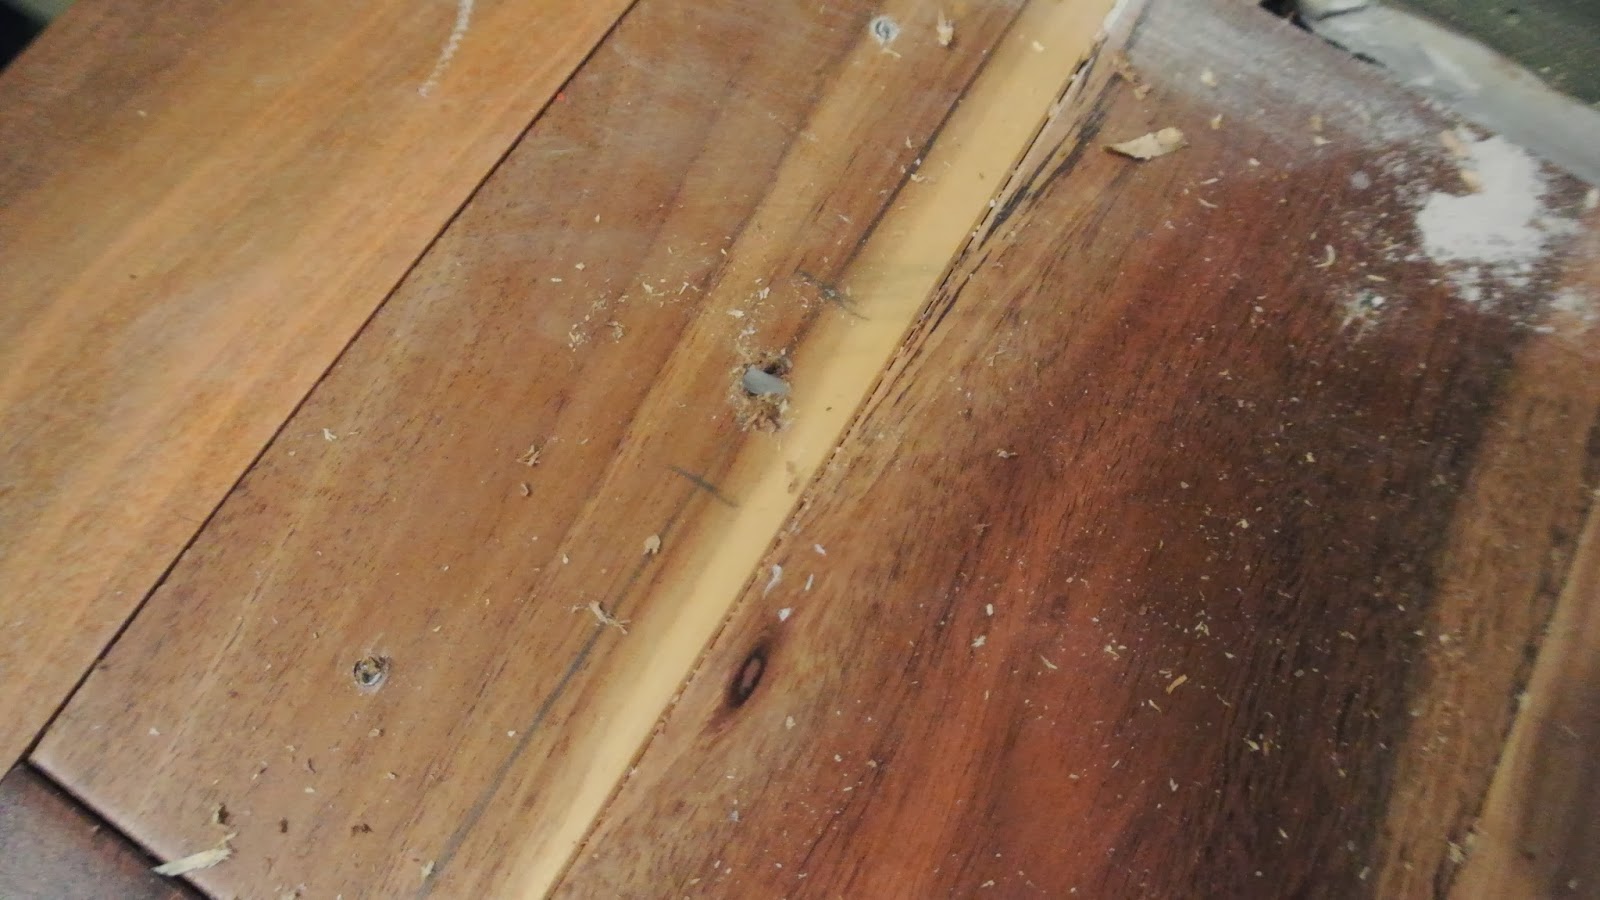
After drilling the 11 balusters for the railing, I measured and drilled the floor. Unfortunately, on the last hole, the drill bit broke off in the floor. IN THE FLOOR. Awesome.
I ignored it and moved on. No sense in dwelling on it. I started putting dowel screws in the rest of the holes, realizing I drilled probably one size too large - I did that to make it easier, but in hindsight, it made them not quite as sturdy. Although, they're solid oak, and really what matters is the newel post and the handrail, so I wasn't worried. I'll use the right bit for the stairs and just deal with how difficult it is to turn them in.
Next was the handrail - I screwed in a piece of 3/4" plywood to the end to screw into the wall, and used pocket screws underneath the rail to attach to the post.

And there it was. A railing. I still have to cut down the post, add a little trim work, top it with something, and then stain or paint (decisions to be made), but it was secure, that's all that mattered for now.
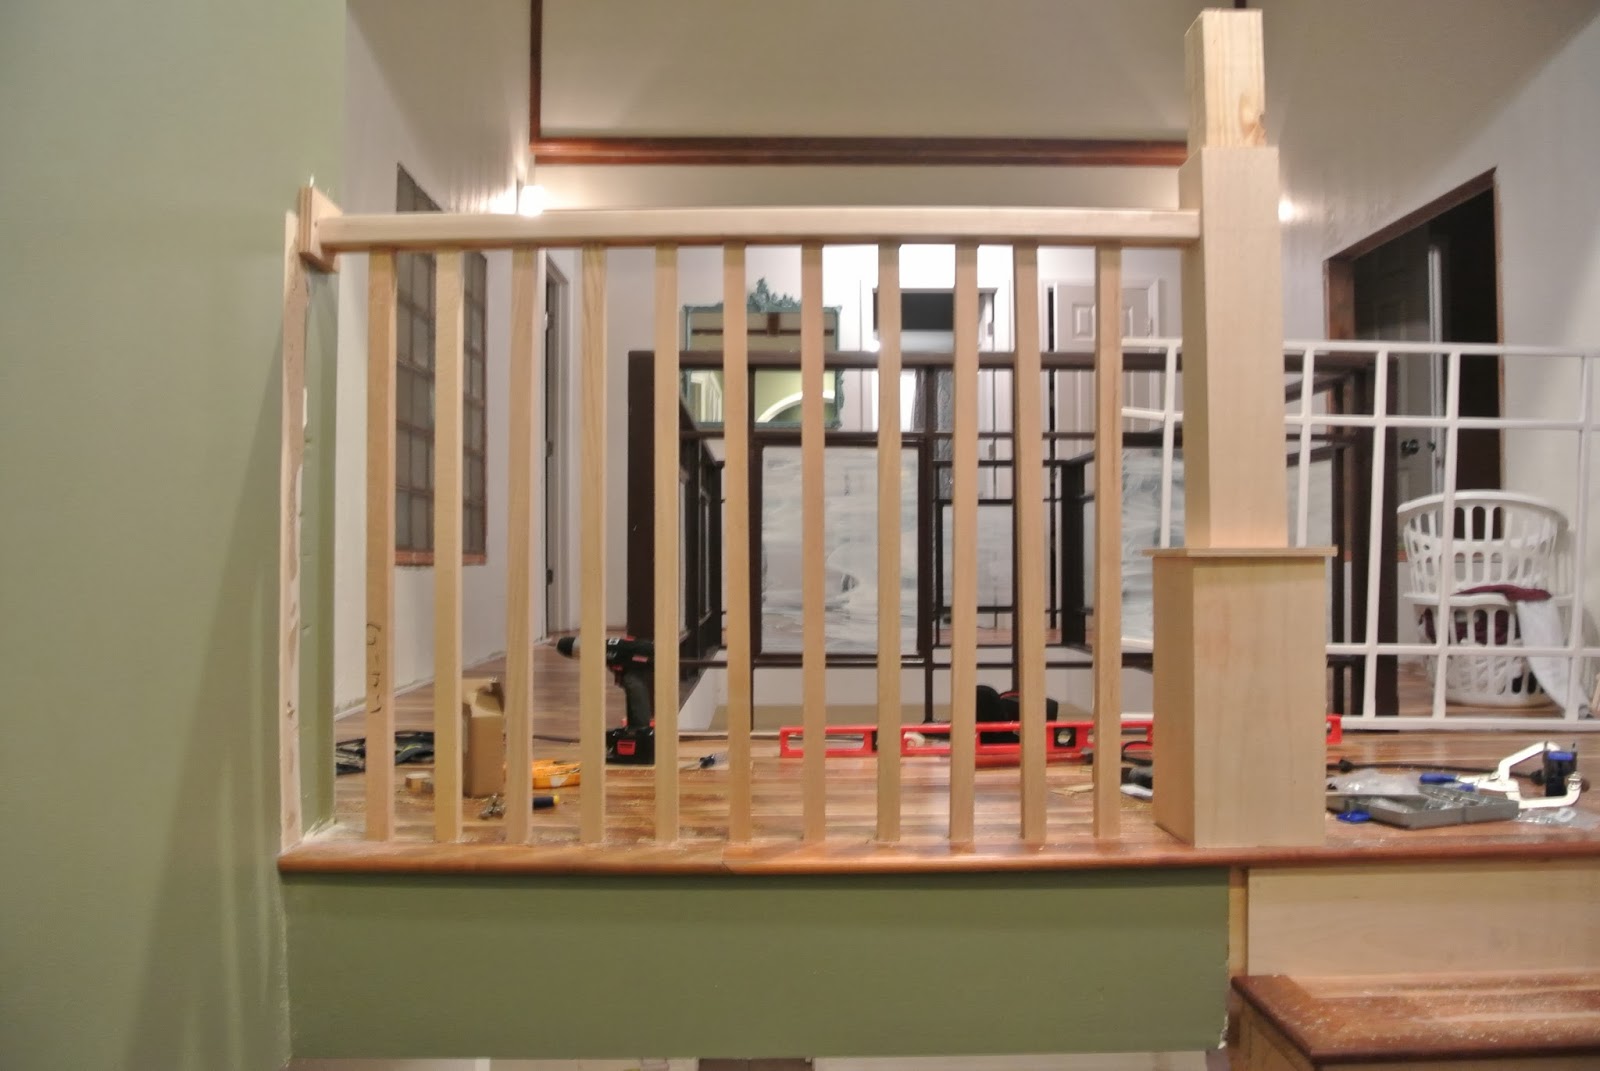
Very happy with how it turned out. Let's hope the rest of the project is this smooth!


