

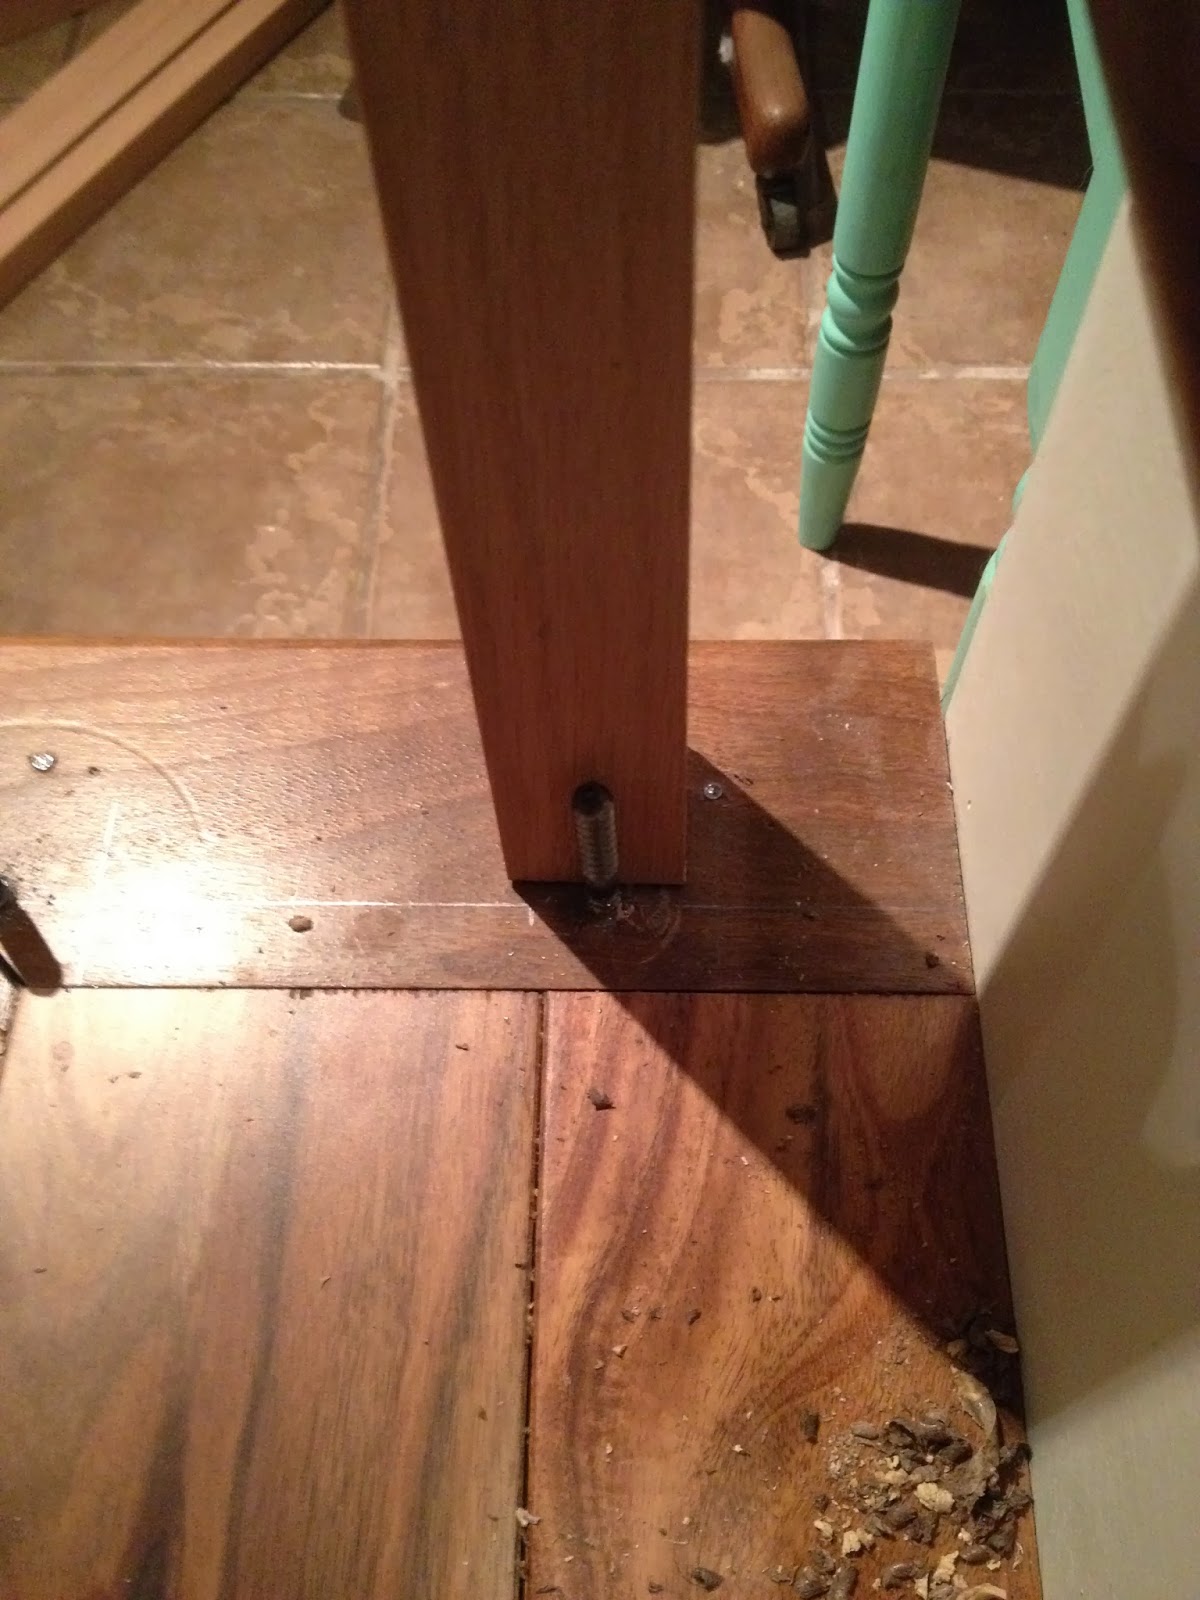
There has been much progress since then. I measured the length of the staircase from post to post, divided it by 13 (the amount of spaces between each baluster) to determine the center point for each dowel screw. I then measured across each post to determine the center coming down the stairs. The tricky part of all the measuring is that because the stair nosing hangs over, you have to make your measurements and then subtract how much the overhang is, which is not always consistent. Each stair is not exactly the same height or depth, so it's important to not assume that you can just use the same measurements on every stair - just like you should never assume walls are square. After measuring, I drilled my pilot holes and cranked the dowel screws in with a pair of vise grips.

As I learned on the upper railing, I have to put the railing in FIRST, then mark the balusters. So I did just that for the lower railings. I took a protractor and level and checked the angle of stringer, which would give me the angle that the railing would have to be. I cut the top angle to 38 degrees, brought it back inside, set it up on the top post, making sure my railing was at least 36" off the stairs, as is code. I matched the angle flush with the top post and marked the railing where it would meet the lower post and made my cut. I drilled two pocket holes and put in one 1-1/2" Kreg pocket hole screw at the top and used a fine thread drywall screw on the bottom to secure it to the posts so I could mark my balusters.

Then I put each 38" baluster up to the center of the dowel screw
And then put the level to the side, pushed it up against the rail, and when I we level vertically, marked the baluster angle with a pencil.

The railings have a valley that the baluster sits in, so when I went to cut it on the miter saw (at 38 degrees, to match the railing angle), I had to add 3/8" so that it would be long enough to sit in the valley. Once all the balusters were cut, I put them in the garage for Becky to stain. Once the stain was dry, I took the railing off and we turned the balusters onto each dowel screw. We used a pair of needle nose vise grips to make sure the screw was turning into the baluster and not just further into the floor, until it got close to the floor, and then turned the rest of the way in. I then reattached the railing, secured the balusters to the railing with 1-1/4" brad nails through the top, and all was great. Then I moved onto the other side.
As I was cutting the balusters, my stupid hipster glasses didn't do a good enough job of keeping the scraps out of my eyes, so I ended up with a tiny piece of oak under my left eyelid. Becky called the after-hours nurse a the hospital, and they recommended I see someone in the next four hours. We called grandma to watch little Ollie, and tried to get to an Urgent Care, but they were closed. Off the the ER we went. The doctor there was nice enough, and sort of knew what to look for, but was not helpful - he claimed there was nothing there, and that the pain I was experiencing was simply a scratched cornea. We went home to sleep it off. The next day I was in an equal amount of pain, despite having eye drops for pain and an antibiotic, so I called my Optometrist to try to get an appointment. After calling a few times, there was finally a cancellation, so I got in at 4pm that day. While I was waiting to go, Becky did a great job filling in, marking and cutting the remaining balusters so she could get them stained and installed.
Once I got in, the Optometrist found a tiny spec of oak under my eyelid that had been scraping the front of my eye every time I blinked. Removing it was the greatest relief. I felt like I got my life back - almost 24 hours of not being able to open my eye for more than 30 seconds at a time, and suddenly I was pain-free. It was amazing. Returning home, I jumped right back into working.

I wasn't quite sure how to attach this 90 degree turn I'd created, so I decided to just go straight in with a couple fine thread drywall screws. I drilled two pilot holes, and then drilled a very shallow hole the size of the screw head so it could sink in and we could cover it with wood putty, obviously offsetting the screw holes so the screws wouldn't run into each other. I applied wood glue between the pieces and screwed it together. It worked perfectly. Then I turned to adding the other railing. Again, perfect.

Then all I had to do was determine what to top the things with, and finish the wrapping. Because the bottom of the lowest posts didn't meet the front of the stair or the stair nosing, I decided to add another chunk to the bottom. I took some 1"x2" whitewood and cut a couple spacers to make sure my 1/2" plywood made it out to the edge of the stair nosing and glued/nailed those to create a frame for the plywood to secure to. While that was drying, I cut my toppers. I went with a 1" thick poplar board, and cut a 6.5" piece and a 4.5" piece, so that the topper would overhang by an inch on all sides, and then the other piece would match the width of the wrapped post.
Once applied, I decided that the 1/2" ply that I used for the middle part of the post would no longer cut it. I got out the dremel (since they're secured below the layer of plywood above them) and cut them all out. I took that same poplar board and cut 4 mitered pieces to wrap around the second level of the base.

I did the same for the bottom portion - only just on three sides, since the stair creates the fourth. I also had to cut the top post shorter, so again, Dremel tool to the rescue.

With all posts topped, the middles replaced, and the bottom posts with a new chunk, we were finally finished with the big stuff.


Now I just have to add all the spacers in the valleys between the balusters, and Becky has to finish filling in all the gaps and sanding, and we'll be set to stain or paint - that part we haven't decided yet. It's a tough call. Because we used two different kinds of wood, and a decent amount of filler, I'm not sure the stain would look that great, but we can at least try it and see. If it doesn't work, we can always paint over it!
Total Project Cost: $832.60, plus all the labor that went into it. That just includes the rails, balusters, 1/2" plywood, and 1" poplar board. Add a little bit with wood glue, wood filler, stain, pocket hole screws and brad nails. Still well under $1,000.
Next time: The finished dining room table!


